Lucky Shamrock Crochet Pattern
This lucky shamrock crochet
pattern makes a wonderful charm or St. Patrick’s Day gift. This four-leaf
clover is super simple to crochet and only takes about 5
minutes to work up!
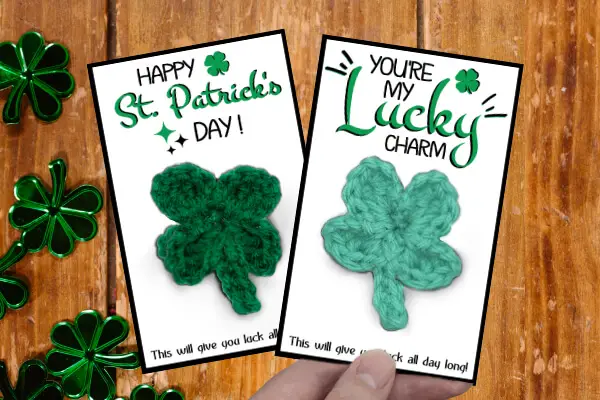
To make this lucky shamrock pattern, you'll only need some small bits of scrap yarn. The stitches used to make the four-leaf clover are single crochet, treble crochet, and slip stitch. This pattern works up super-fast, and you will have some little St. Patrick’s Day gifts to give out in no time!
This lucky shamrock crochet pattern is available for free on this website. If you prefer to work from an ad-free, printable PDF version of this pattern, you can purchase this pattern from my Etsy shop for a small price. Thank you so much for supporting Crochet Guru!
This post contains affiliate links, meaning I get a commission at no cost to you if you decide to purchase through my links. As an affiliate, I earn from qualifying purchases. Please read my Disclaimer for more information. Thank you for supporting this website, Bobbie
Lucky Charm Quote Print Outs!
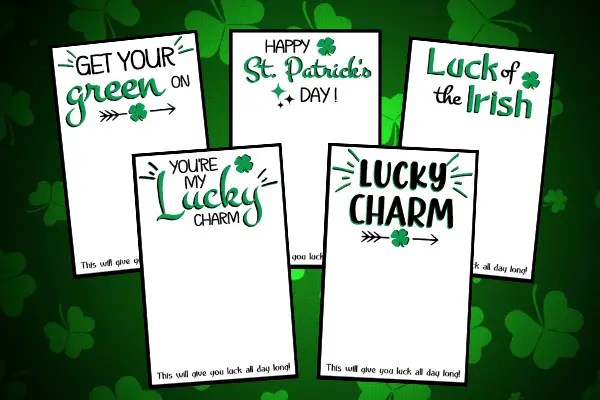
GET YOUR LUCKY CHARM CARD PRINTOUTS!
If you want to have some pre-made, printer-friendly lucky charm cards... I have several available for a small price on my Etsy shop.
More Details on Lucky Charm Cards:
1. I have five different lucky charm cards available for purchase.
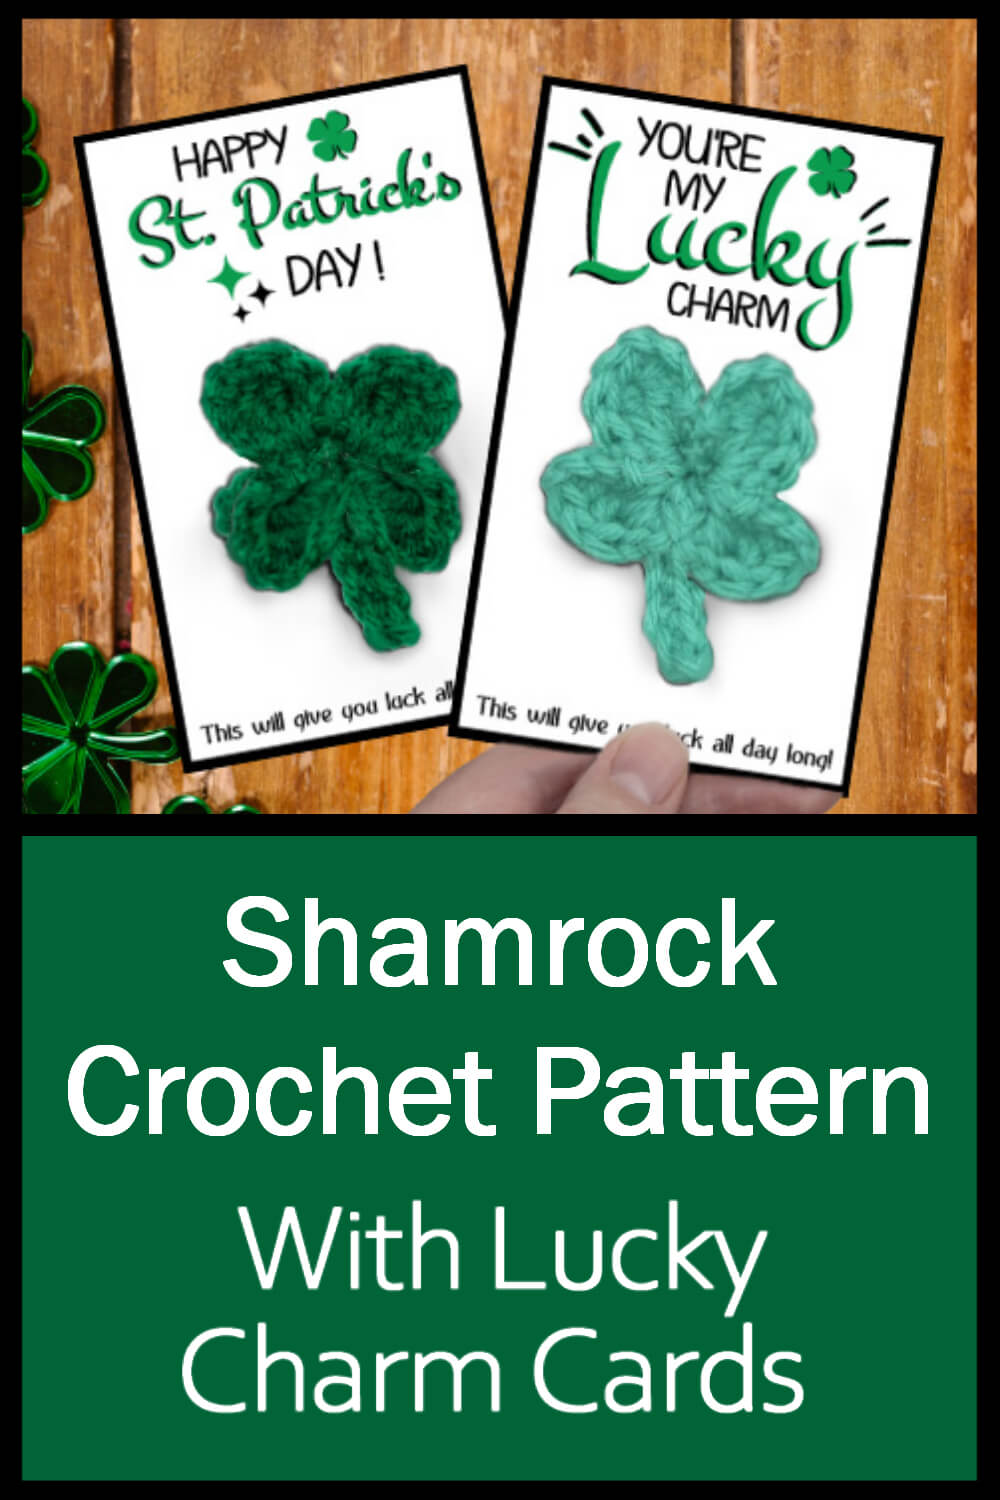
2. I made these cards big enough to fit each four-leaf clover (shamrock).
3. Use cardstock paper for the best results, or laminate the cards instead.
4. I use a little scotch tape to hold the crocheted shamrock in place. Or you can use a bar pin to poke holes through the card. Check out my video to see how I attach my crocheted shamrock to my card.
5. There is a little space at the bottom of each card/saying for you to sign your name if you like.
6. The cards are 5 1/4 inches tall and 3 1/4 inches wide.
Lucky Shamrock Crochet Pattern
LEVEL
Easy
MATERIALS
Yarn
#4 yarn weight/medium can be used for this pattern.
For this pattern, I used various shades of green from an Inscraft yarn kit.
The yarn in this kit is not named, but there are at least six shades of green in this kit.
Hook
Number 7 - 4.5 mm in US terms
Notions
Bar Pin - to sew onto the back of the shamrock.
Thread needle with green thread
For Fun
SIZE
2 inches across - 2 inches down
ABBREVIATIONS
This pattern is written using standard US crochet terminology.
- Magic Ring = Adjustable Loop
- Ch = Chain
- Sl st = Slip stitch
- Sc = Single crochet
- Tr = Treble crochet
FOR MAGIC RING INSTRUCTIONS SCROLL DOWN TO THE BOTTOM OF THIS PAGE!!
Lucky Shamrock Crochet Pattern
With the color green, make a magic ring.
For the Clover Leaves: (ch 4, 3 tr, sc, sl st) repeat this stitch pattern 3 more times into the magic ring. This will make four leaves on the shamrock.
For the Stem: pull the magic ring mostly closed, ch 5, sc in 2nd ch from the hook, sc in next 4 sc, sl st into the slightly opened hole in the magic ring.
Pull the ring tightly closed.
Fasten off, leaving about 6 inches on the tail end.
Weave the magic ring's opening closed with the tail end of the yarn. Cut the remaining tail end.
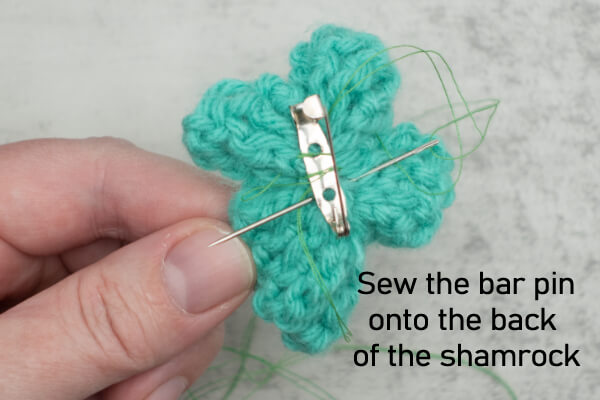
Use some green thread and a thread needle to sew the bar pin onto the back of the four-leaf clover.
Optional: attach the bar pin to one of the lucky charm cards or use a piece of scotch tape.
The Products I Used for this Pattern: I always try to find the best deals and quality!
Yarn
I wanted to have some smaller yarn skeins in various of colors on hand. I am starting to crochet smaller items and needed to find a nice yarn kit to meet this purpose. This Inscraft acrylic yarn set is exactly what I needed.
Crochet Hook Set
This ergonomic hook set includes a 7-4.5 mm which is the hook size I recommend for this pattern. This set is great for sore or arthritic hands because they are made with large soft grip handles, making them more comfortable to hold.
Yarn Scissors
I use this 2-pack of yarn scissors; they both work like a charm. One tip is curved, the other is straight, and they are both small and sharp, which works perfectly for yarn!
Yarn Bowl
I always thought yarn bowls were silly, but then I used one!! I love how it keeps my little yarn balls from rolling away when I crochet.
This is the yarn bowl I have, and I love how it comes with a lid for extra security!
Bar Pins
I wanted to make these four-leaf clovers wearable. These bar pins work perfectly for sewing onto the back of the shamrock. This way, the people you give them to will have something to wear on St. Patrick's Day!
Pin This Post!
Save this shamrock crochet pattern to your Pinterest boards so that you can come back to it later.
This lucky shamrock crochet pattern makes a wonderful charm or St. Patrick’s Day gift. #stpatricksday #crochetshamrock
WHY USE A MAGIC RING?
A magic ring is one of the best ways to begin when you plan on crocheting in the round. A magic ring is also called an adjustable loop. The advantage of using a magic ring is that there is no hole left in the middle of your crochet project.
HOW TO MAKE A MAGIC RING?
Start with the yarn crossed to form a circle
1. Draw up a loop with your hook but don't pull it tight
2. Hold the circle with your index finger and thumb, and wrap the working yarn over your middle finger
3. Make one chain stitch by wrapping the yarn over the hook and pulling it through the loop on your hook
4. Now insert your hook into the loop and underneath the tail. Wrap the yarn over the hook and draw up a loop
5. Wrap the yarn over the hook again and draw it through both loops on your hook
6. You have now completed your first single crochet
7. Continue to crochet until you have the required number of stitches as mentioned in the pattern. Now grab the yarn tail and pull to draw the center of the ring tightly closed
8. You can now begin your second round by crocheting into the first stitch of the first round. You can use a stitch marker to remember where you started.
Copyright: You may make and sell any items made from my patterns, but please make sure to give Crochet Guru credit. Please do not copy this pattern or any of my photos and share them as your own, in part or whole. Instead, give credit and link back to the Crochet Guru Website. I appreciate your understanding!
Please Remember: You may sell the finished crocheted product. But never sell, copy, publish or claim this pattern or any other pattern you find on this website as your own.
Do you want to know when Crochet Guru posts new crochet videos, products, and patterns? Be sure to like Crochet Guru on Facebook and join the Crochet Guru Group! Also follow Crochet Guru on Instagram! Remember to tag Crochet Guru when you post your finished projects on social media! I can't wait to see them!
Have Questions? Join My Crochet Guru Facebook Group!
I hope this article was helpful! If you have any additional questions, feel free to join my Crochet Guru Facebook Group. This group is for you to share pictures, ask questions, and help each other out!

