How to Weave in Yarn Ends for Crochet
How to Weave in Yarn Ends for Crochet: How to Crochet Lesson #11
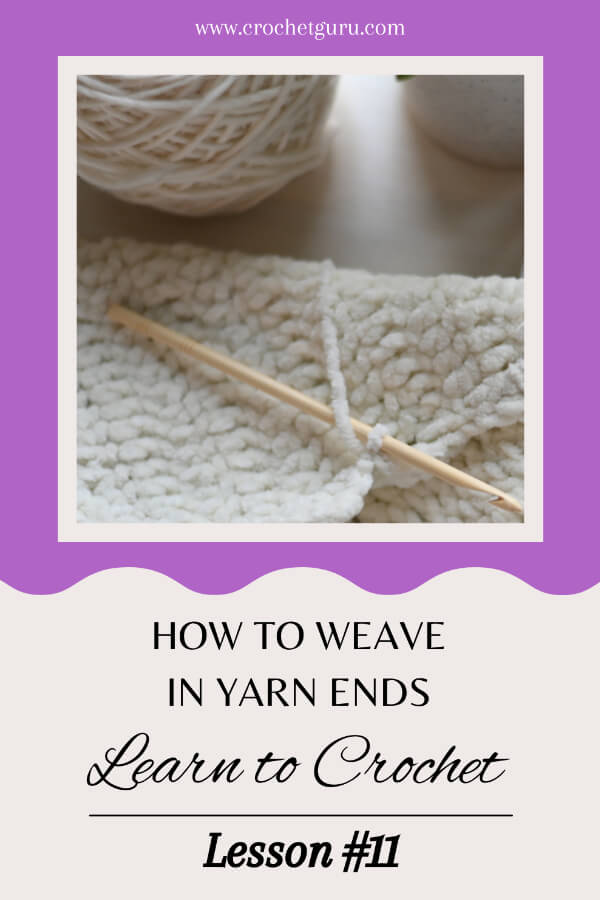
Learn how to weave in yarn ends for crochet in this lesson #11.
Welcome, fellow crocheters! Have you ever finished a beautiful crochet project only to be left with a few loose yarn ends hanging from the edges? We all have been there, and having your hard work marred by unsightly yarn tails can be frustrating. In this "How to Crochet Lesson #11", I will teach you the art of weaving in yarn ends to give your crochet projects a polished and professional look.
Weaving in yarn ends may seem minor, but it really makes a big difference in the final product. Whether you're an advanced crocheter or just starting, mastering this technique is essential for taking your crochet skills to the next level. So, grab your crochet swatch or project, and dive into this crucial lesson!
For those following along with my crochet lessons, you should have a single crochet swatch ready. If you haven't made your single crochet swatch yet, read and follow my Lesson #9 - Learn How to Single Crochet on the Second Row.
You've invested so much passion, dedication, and effort into your crochet creation; now, let's ensure it has a flawless finish! In this tutorial, I'll guide you through tidying up those yarn ends to achieve a stunning, professionally polished crochet piece you'll be eager to showcase.
So, grab hook and yarn and dive in! You'll soon discover how simple it is to master this technique and admire the crisp finish it brings to your projects. Get comfortable, and join me as we unravel the secrets to neatly completing a crochet project!
What is "Weaving in Tail Ends?"
Ever wondered about the term "weaving in the ends?" It's a skillful method to neatly tuck away those pesky loose yarn strands at the end of a crochet project. Doing so ensures that your masterpiece won't fall apart over time while also giving it a polished and professional appearance.
To get all of my lessons on how to crochet, make sure to purchase a copy of my "Learn to Crochet With Me the Crochet Guru" Book!
After you buy the book, follow along with me as I guide you through the exciting journey of learning crochet! Click Here to Purchase My Book
Why Should You Weave in Tail Ends?
While it might feel like a monotonous chore, weaving in tail ends is crucial in every crochet masterpiece. Ensuring that the ends are woven in not only safeguards your creation from coming apart during wear or cleaning but also helps maintain its beauty and durability for years to come!
What Type of Needle Should You Use for Weaving in Yarn?
Before diving into your weaving process, you'll need a completed project and a tapestry needle! Often referred to as a darning needle or yarn needle, To keep things smooth and easy, select a needle slim enough to glide through your project's stitches but sturdy enough for the yarn to effortlessly slide through the eye. Voila! You're all set for weaving magic!
My Needle of Choice for Worsted Weight Yarn: #18, large-eyed tapestry needle with a blunt tip.
Two Methods for Weaving in Yarn Ends
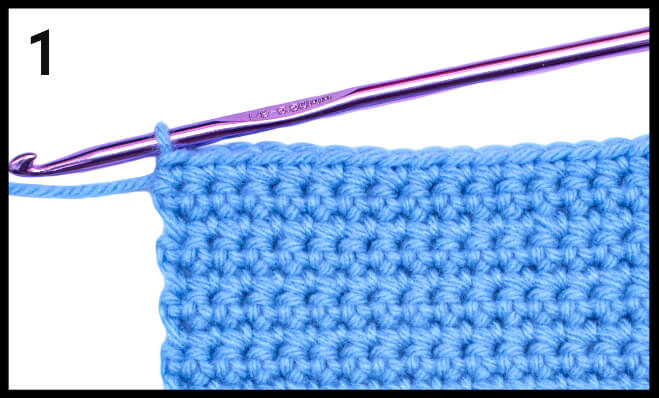
Method #1: Weave the yarn tail in a zigzag pattern through the same 4-6 stitches. Go back and forth through these same stitches at least three times.
Note: Weaving the tail end back and forth at least three times will lower the chance of the tail coming out with normal use.
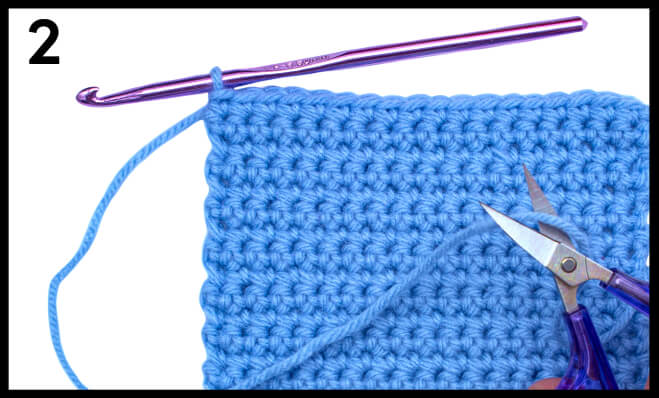
Method #2: Weave the yarn tail through the same 4-6 stitches but make sure to weave in 3-4 different directions.
Note: Weaving the tail end in 3-4 different directions will lower the chance of the tail coming out with normal use.
More Tips on Weaving in Yarn Ends:
1. If your tail end comes from the side of your project, weave it in vertically,
up and down through the stitches found along the same edge.
2. If your tail end comes from the top or bottom of your project, weave it
horizontally, back, and forth through the st itches found along the same edge.
3. Be careful not to split the yarn while weaving.
4. When finished weaving, cut the yarn about ¼ inch from the fabric and gently
pull the tail end into your fabric, hiding your tail end.
To Do List: How to Weave in Yarn Ends for Crochet
1. Weave in the tail ends by following the instructions and examples given in this lesson.
Great Job! You Finished Lesson #11 - How to Weave in Yarn Ends for Crochet
Now Click Here to Go to Lesson #12 - How to Half Double Crochet
More information: Learn more on how to finish your crochet project and weave in yarn ends. Sarah Maker has you covered with details on finishing and weaving in yarn ends for your crochet project, just in case you need a refresher.
Pin This Post!
Save this Learn How to Weave in Yarn Ends for Your Crochet Project - Crochet Lesson #11 to your Pinterest boards so that you can come back to it later.
Say goodbye to unsightly knots and loose ends with this step-by-step guide on how to weave in yarn ends in crochet. Whether you're a beginner or a seasoned crocheter, this lesson is a must-watch. Learn how to seamlessly blend ends and achieve a professional finish with ease. #crochet #learntocrochet #yarnends #crochet101
Have Questions? Join My Crochet Guru Facebook Group!
I hope this article was helpful! If you have any additional questions, feel free to join my Crochet Guru Facebook Group. This group is for you to share pictures, ask questions, and help each other out!

